TP-Link USB to Ethernet Adapter (UE306)
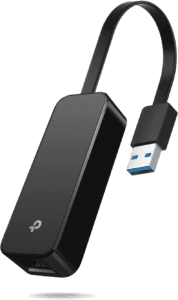
UE306 is a USB to Ethernet adapter from TP-Link, which allows you to connect your laptop or desktop computer to a wired network. It can be helpful if your computer doesn’t have an Ethernet port or if you need to connect to a network without wireless coverage. In this review, we will look at the features and performance of UE306 and see how it compares to other USB adapters on the market.
Features of TP-Link USB to Ethernet Adapter (UE306)
- It is a very versatile adapter that can be used on Windows and Mac computers.
- The UE306 has a sleek design and is very easy to use.
- It is also very affordable and works great with most computers.
- The UE306 is an excellent adapter for anyone who needs an easy way to connect their laptop to the internet.
How to Install TP-Link UE3056 USB to Ethernet Adapter on Windows?
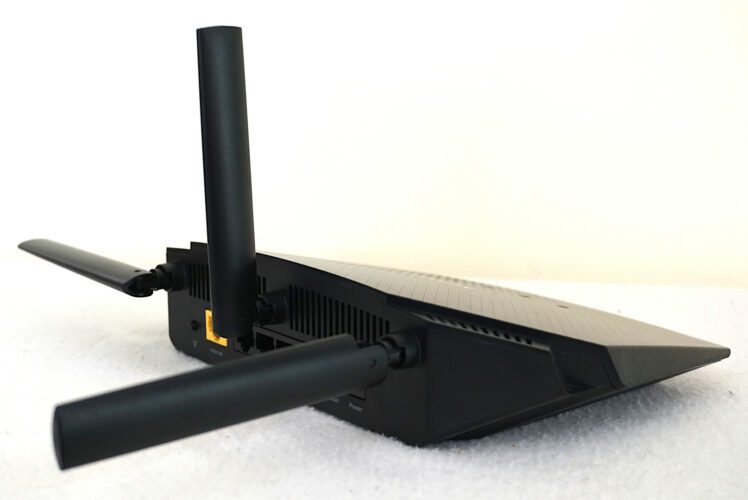
In the past, we used to buy a router or switch for an internet connection. But today, Wi-Fi connections are very fast. A router has become obsolete as it is not necessary to purchase a new device. The new router can be easily connected to the computer, and the device becomes wireless.
We all know that Wi-Fi is not a perfect connection, and there will be a lot of issues that are caused due to this, for example, poor signal, no connection, etc. So, in the case of a wireless router, it is impossible to access the internet without an internet connection.
If you want to buy a router with Wi-Fi, then there are a lot of devices that are available on the market. The TP-Link USB to Ethernet Adapter is one of those devices that can be used for connecting the computer to the internet. This simple and affordable device can be easily installed on a laptop.
In this article, we will discuss the TP-Link USB to Ethernet adapter installation procedure on a computer and how to install the adapter.
Download TP-Link UE3056 USB to Ethernet Adapter
For this, you will need an account on the manufacturer’s official website. Once you open the page, you will see a drop-down menu where you can click on the device. After clicking on the device, the page will redirect you to the download page. Click on the Download button, and the device will automatically install.
Once the device has been installed, the next step is to connect the laptop’s USB port to the router’s Ethernet port.
Check the router is connected.
You will need to use a wired connection to check if the adapter is working correctly. As this is a router, you must connect the adapter to an ethernet cable. Once you have connected the device, you will see that it has started searching for a network.
Now, open your web browser and type the router’s IP address. The default IP address is 192.168.1.1. In the given an example, the router’s IP address is 192.168.1.1.
Once you have typed the IP address, you will see the router page. You will see the device’s green light if the device is connected correctly.
Conclusion:
That is the complete procedure for installing the TP-Link USB to Ethernet Adapter on a computer. If you still have any questions, then feel free to comment below.